Gigapixel AI v8.3.4 has been my go-to for enhancing and upscaling images, and I wanted to share some insights based on my experience with this version. It brought some welcome fixes, but like any powerful software, getting the best results often involves understanding its quirks and capabilities.
Initial Impressions and Bug Fixes
One of the immediate things I noticed with v8.3.4 was that several processing errors I encountered in earlier versions were gone. Issues like RAW images loading black were resolved, and transparent images now render correctly on my machine (though I’ve heard cloud rendering can still have issues with transparency). I also no longer get processing errors when using Text & Shapes or High Fidelity v2, which is a big relief. The update also includes an automatic Lensfun update and the Windows installer now consistently creates a log file, which is helpful if I need to troubleshoot installation problems.
Tackling Troubleshooting
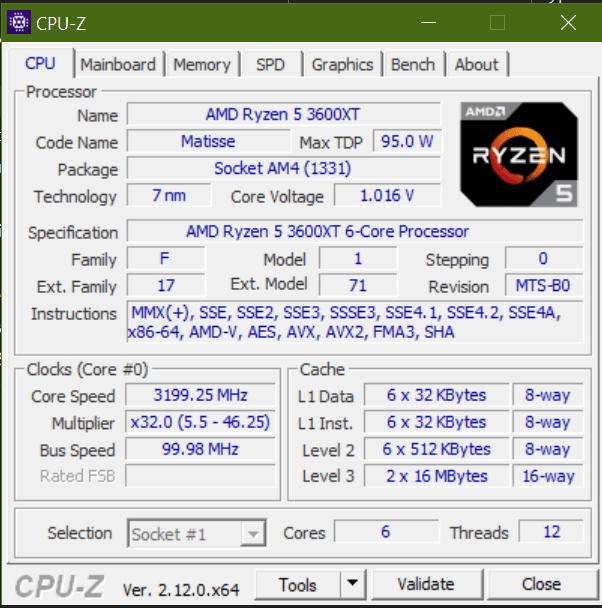
A persistent issue I initially faced was an AVX error, which was incorrectly showing on my older Windows setup. I learned that having the latest Windows updates (specifically the March set) was crucial to resolve this. I also found that sometimes verifying my CPU actually supports AVX/AVX2 and checking a setting called “xsavedisable” in Command Prompt can help. If all else fails, I’ve successfully used a workaround where I install a legacy version and then update from within the application.

While v8.3.4 fixed many issues, I know some users, particularly on Macs, have had trouble with the Recover V2 model producing blurred results or causing errors. I haven’t personally encountered this, but I’ve seen discussions about potential workarounds like forcing CPU processing or trying to swap model files. I’m hoping Topaz releases a fix for that soon, as Recover V2 is a valuable tool for restoring details.
Mastering the AI Models: Tips and Workflows
Using the different AI models is where things get really interesting. I spend a lot of time experimenting, especially with the Redefine model. I’ve found it’s not a one-size-fits-all solution, and its effectiveness often depends on the original image and what I want to achieve.
Working with Redefine
For images that are small to medium resolution, I’ve discovered a great trick: first scaling the image to 1:1 using Redefine with creativity around 2 and texture at 3. This step seems to add a lot of detail efficiently. If I’m working with a high-resolution photo, I might downscale it first before applying this 1:1 Redefine step. After that, I can upscale to my final desired size using Redefine again, or sometimes I’ll switch to models like Resolution v2 or High Fidelity.
When dealing with animal photos, particularly those with fur, I’ve refined my workflow. I usually start with Redefine at a 2x upscale (though 1x can work sometimes) using creativity 2 or 3. I found that higher creativity settings tend to make fur look a bit too wild, almost like the animal belongs in an arctic climate, even if it’s a tiger! A short prompt describing the animal helps keep the AI focused. The second step is often High Fidelity to get to my final resolution. I keep an eye on the sharpening High Fidelity applies and sometimes reduce it, as it can be a bit aggressive.
My experience tells me that Redefine works best on images up to about 4K. When I try to redefine details in images that are already very high resolution, the difference is often minimal or the results aren’t as good.
The Role of Text Prompts
I’ve also played around with text prompts quite a bit. While some suggest long, detailed prompts are necessary, I’ve honestly found that a concise, well-crafted prompt works just as well when I’m starting with an existing image. I’ve even used AI tools like Google Gemini to help generate descriptions, and they often provide a good starting point. The type and effectiveness of prompts are areas I’m still exploring.
Combining Models for Best Results
I often create multiple versions using different models (Redefine, Recover V1/V2, Low Resolution v2, High Fidelity) and blend the best parts in Photoshop – it’s a bit more work, but the results are often superior. This allows me to leverage the strengths of each model for different aspects of the image.
Gigapixel AI as a Creative Tool
It’s worth noting that with the Redefine model, especially at higher creativity settings (4 and above), you’re venturing into generative art territory. The software can create entirely new details and interpretations, sometimes leading to surreal or unexpected outcomes. I find this fascinating and sometimes use it intentionally to create artistic effects rather than just enhancing realism. Pushing these settings can transform an ordinary image into something quite extraordinary and imaginative.
Other Observations
I’ve also tested the difference between generating a full image preview and directly exporting the image. In my tests with v8.3.4, the results and processing times were pretty much identical. However, I still prefer to work with the full image preview when possible, as I’ve heard that previewing just a section might not always match the final export.
I also sometimes integrate Gigapixel AI with other Topaz Labs software, like Photo AI, for a more comprehensive editing workflow.
Overall, Gigapixel AI v8.3.4 is a powerful tool with a lot of potential. It takes some experimentation to figure out the best settings and workflows for different types of images and desired outcomes, especially with the more creative models like Redefine. But by understanding how the different settings and models interact, and knowing how to tackle common issues, I can consistently achieve impressive results.
